Visualising Workspace: Unispace

14 May, 2017
by Daragh Doyle
When The Graphical Thread was asked by Unispace to create some interior 3d visualisations to show off their latest design for BDO Melbourne we relished the opportunity and the challenge.
Creating beautiful interiors for an office space fitout is not without its complexities. With these spaces, and similarly with educational spaces, often the repetition of desks or layout space can create some confusion within the composition of the image. One of the objectives for the 3d artist is to show the arrangement configuration in a clean and non-cluttered way. The aim is to create a feeling of spaciousness while allowing for collaboration.
In this situation designers often want to convey many different work style arrangements or floor layouts combined in a single image. The 3d artist must create an interest within the image while considering the needs of the designer.
Another important factor that contributes to the feel of the image is lighting. In spaces with limited natural light and without the advantage of feature lights, office space lighting can be flat and lack drama so often used (and often over-used) by 3d artists.

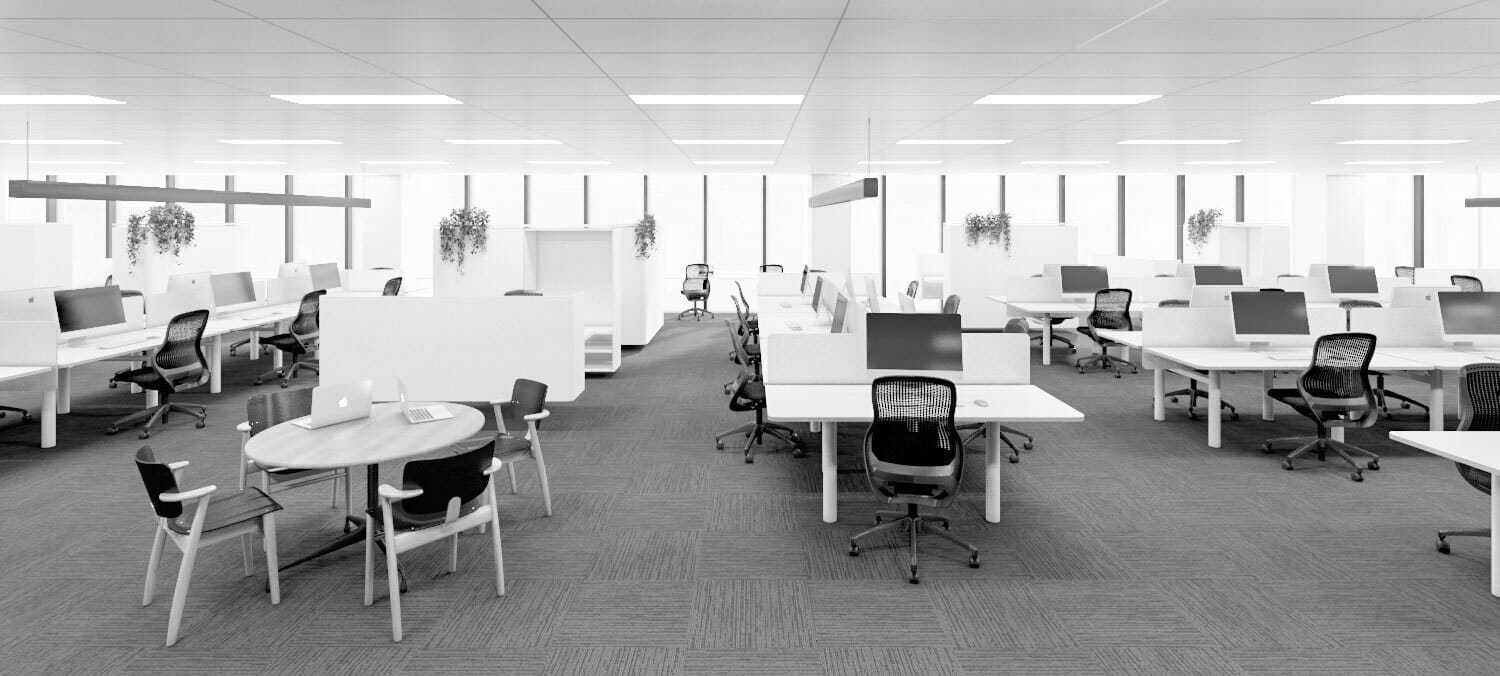
At the Graphical Thread, we always begin with a white model style to get camera sign off. Taking the materials and colours out of these drafts allows the artist and the client to focus solely on the composition and lighting without getting into the details of colours and textures.
We chose the image above from five camera options generated but that choice process is probably a topic for another post.
On the note of adding personal touches, soft furnishings can be a great way to add a human feel to the image without the need to add people. Items on a desk, magazines on a table and even items of clothing can help to achieve this. Personally, this is one aspect I really love about creating these scenes. It really allows the 3d artist to add some of their own style while adding significantly to the mood and feeling of a scene. It’s worth spending time and consideration on this aspect of the image and often it’s one of the hardest aspects of 3d visualisation to get right.
Once we have chosen a camera, we can then begin to add materials and textures. Below is a draft render showing just this.
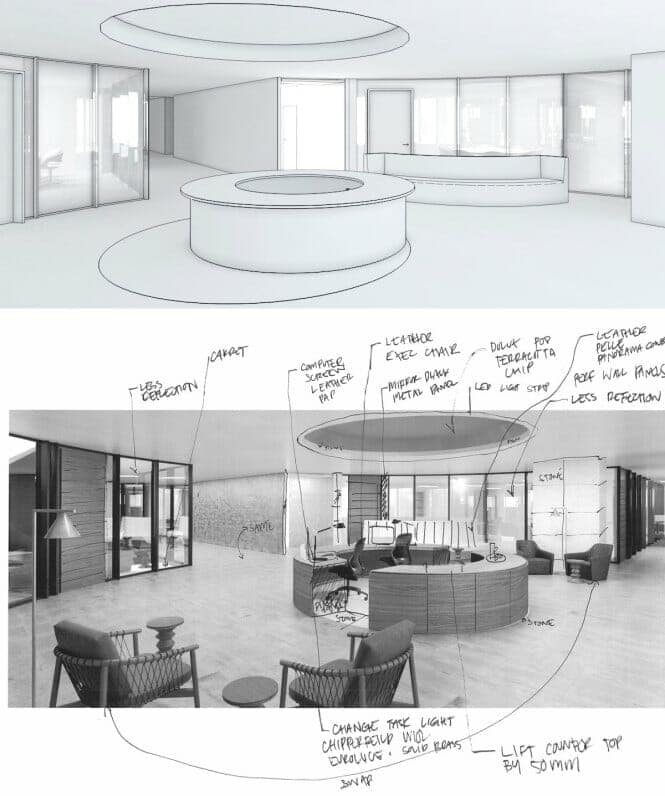
At this point the client and the 3d artist can really get down to details. Below is a sample of client mark-ups outlining specific requests for the image.

And to conclude, we have the end result; a fantastic collaboration between designer and artist. Notice the coats hanging, the lamps on the desks and the laptops have been added to create a personal feel.

Below we can see the same process used for the reception area.
And now for the the final image for the front of house:

And last, but not least, the kitchen hub area.